


Tesla's ultrasonic sensors, vital for ADAS and autonomous driving, require meticulous repair post-cosmetic panel work to maintain safety features. Repairs involve sensor identification, compatible parts, battery disconnect, removal/installation, testing, and system verification, emphasizing the need for specialized Tesla repair shops.
“Tesla vehicles boast cutting-edge technology, including ultrasonic sensors that facilitate key safety features. However, these sensitive components can suffer damage during cosmetic panel work, leading to costly repairs or reduced vehicle performance. This article delves into the intricacies of Tesla ultrasonic sensor repair, offering a comprehensive guide for both professionals and enthusiasts. By understanding the function and common issues, you’ll gain valuable insights into effectively replacing damaged sensors, ensuring your Tesla maintains peak safety and efficiency.”
- Understanding Tesla Ultrasonic Sensors: Function and Location
- Cosmetic Panel Work and Sensor Damage: Common Issues
- Repair Process: Step-by-Step Guide for Effective Replacement
Understanding Tesla Ultrasonic Sensors: Function and Location

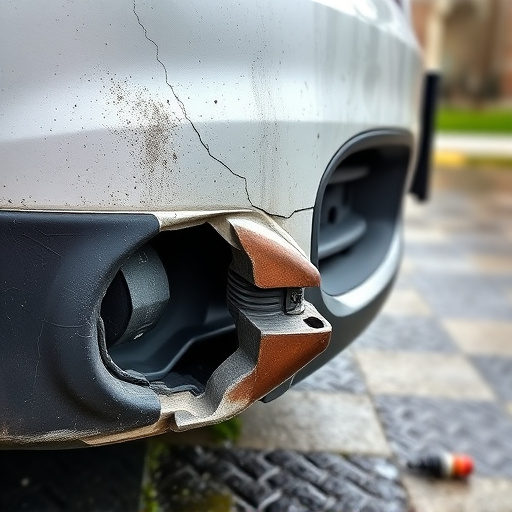
Tesla’s ultrasonic sensors are integral components of their advanced driver-assistance systems (ADAS) and autonomous driving capabilities. These sensors emit high-frequency sound waves to detect objects around the vehicle, providing crucial data for safety features like collision avoidance and self-parking. Located strategically throughout the car, they are often embedded in the exterior panels, especially near the front and rear bumpers, fenders, and side mirrors. Understanding the function and precise placement of these sensors is essential when undertaking any cosmetic panel work or repairs, as their integrity directly impacts the overall safety and performance of Tesla’s advanced driver assistance systems.
During a car collision repair or auto painting process involving exterior panels, it’s critical to consider the ultrasonic sensors’ potential impact. An automotive body shop specializing in Tesla repairs should have the expertise to assess and address any sensor damage or misalignment, ensuring they function optimally post-repair. This meticulous attention to detail is what guarantees that the vehicle’s safety features remain reliable and effective, enhancing the overall driving experience for Tesla owners.
Cosmetic Panel Work and Sensor Damage: Common Issues

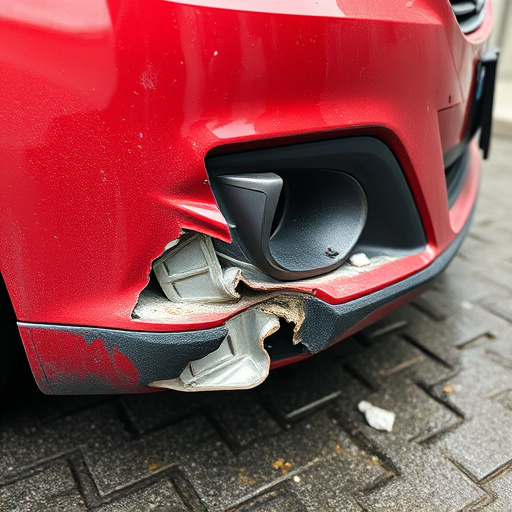
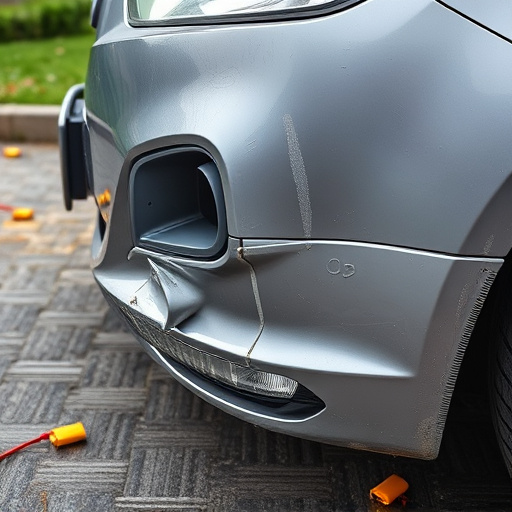
Cosmetic panel work on a Tesla, while enhancing the vehicle’s aesthetics, can sometimes lead to unforeseen issues with its sensors. During the process of repairing or replacing car dent repair or other body shop services, it’s not uncommon for the ultrasonic sensors to be affected. These sensors play a crucial role in various safety and convenience features, such as automatic parking, collision avoidance systems, and more. Even minor adjustments to the vehicle body repair can disrupt their calibration, leading to malfunctions.
The intricate nature of Tesla vehicles means that any misalignment or damage to these sensors requires precise ultrasonic sensor repair. Ignoring potential sensor damage after cosmetic panel work could compromise the overall safety and performance of the vehicle. Therefore, it’s essential to have a qualified technician inspect and calibrate the sensors following body shop services for optimal results and peace of mind on the road.
Repair Process: Step-by-Step Guide for Effective Replacement

Repairs to Tesla’s ultrasonic sensors after cosmetic panel work require a meticulous and structured approach for optimal results. The process starts with thorough inspection to identify the faulty sensor, followed by acquiring compatible replacement parts designed specifically for Tesla models. Safety precautions are paramount; disconnecting the battery at the starter relay ensures technician safety and prevents accidental damage.
The actual repair involves removing the damaged sensor from its housing using specialized tools. Clean the area thoroughly to prevent debris accumulation that could affect new sensor performance. Install the new sensor, ensuring precise alignment for accurate readings. Reconnect the battery, test the sensor’s functionality using diagnostic tools, and verify its proper integration with the vehicle’s system before finalizing the automotive repair services. For car restoration enthusiasts or those looking into Mercedes Benz repair techniques, understanding this step-by-step process is invaluable in achieving reliable outcomes.
After thoroughly understanding the critical role of Tesla’s ultrasonic sensors in safety systems, and how cosmetic panel work might cause damage, it’s clear that proper maintenance is key. The step-by-step repair guide offers a practical solution for replacing these sensors efficiently. For those looking to address any issues with their Tesla ultrasonic sensor repair, this comprehensive approach ensures the restoration of optimal vehicle performance and safety standards.