


Tesla ultrasonic sensor repair requires expert diagnosis and meticulous restoration. Common issues include physical damage, corrosion, and internal electrical problems. Technicians use specialized tools like multimeters to test sensors, identifying open circuits or bad connections. Safe disconnection, visual inspection, thorough testing, and precise replacement ensure long-lasting repairs for advanced Tesla technology.
Tesla ultrasonic sensors are integral to the car’s safety and performance. When these sensors malfunction, accurate diagnosis and repairs are crucial. This guide delves into the intricacies of Tesla ultrasonic sensor repair, focusing on understanding common malfunctions, executing electrical testing procedures for precise identification, and providing a step-by-step repair process to restore sensor functionality. By following these comprehensive steps, you’ll be equipped to tackle and resolve various Tesla ultrasonic sensor issues effectively.
- Understanding Tesla Ultrasonic Sensor Malfunctions
- Electrical Testing Procedures for Accurate Diagnosis
- Step-by-Step Repair Guide: Restoring Sensor Functionality
Understanding Tesla Ultrasonic Sensor Malfunctions

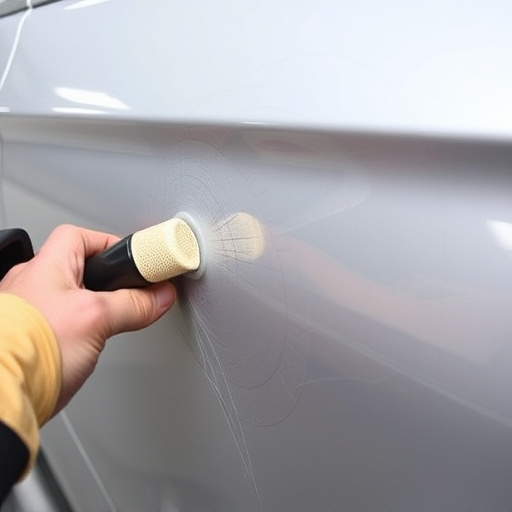
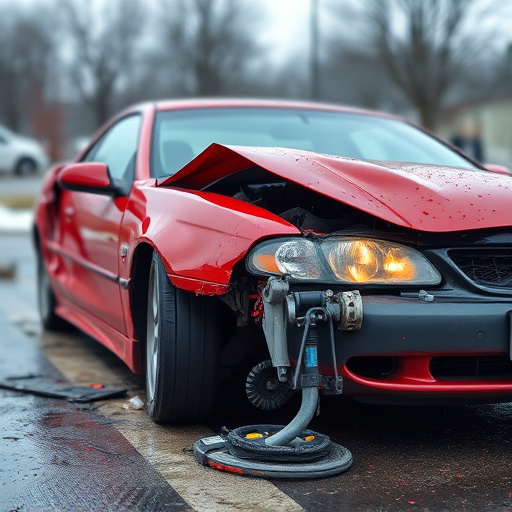
Tesla ultrasonic sensors play a critical role in the vehicle’s safety and driving aids, ensuring precise parking and avoiding collisions. When these sensors malfunction, it can lead to a range of issues, from inaccurate distance readings to complete failure to detect objects. Understanding these malfunctions is key to effective Tesla ultrasonic sensor repair. Common causes include damage from impact or road debris, corrosion due to exposure to moisture or salt, and internal electrical failures stemming from aging components or manufacturing defects.
Proper diagnosis involves a systematic approach: inspecting the sensor for visible damage, checking connections for loose or corroded wires, and utilizing specialized diagnostic tools to test signal strength and response times. A skilled technician will also assess surrounding components, as sensor malfunctions can sometimes indicate broader issues within the vehicle’s safety systems. Effective Tesla ultrasonic sensor repair requires precision and expertise, often best handled by a trusted car body shop specializing in modern electric vehicle repairs.
Electrical Testing Procedures for Accurate Diagnosis
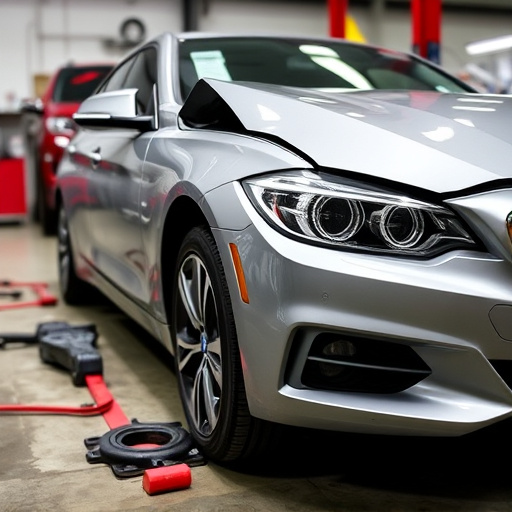
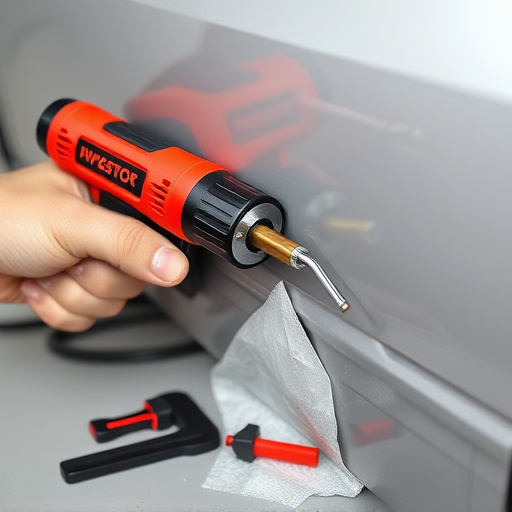
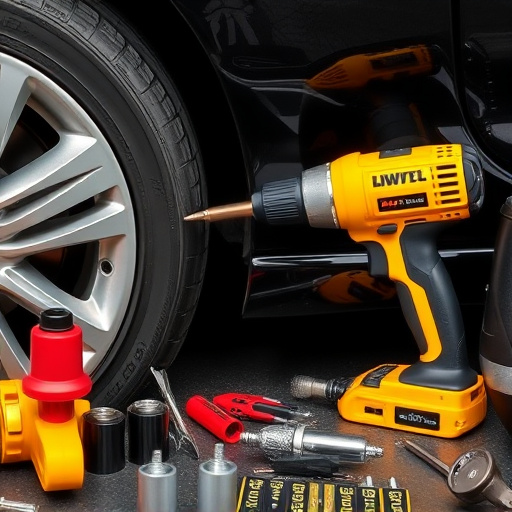
When undertaking Tesla ultrasonic sensor repair, accurate diagnosis is paramount to ensure effective and efficient solutions. Electrical testing procedures play a crucial role in this process, helping to identify any faults or discrepancies that may be affecting the sensor’s performance. By employing specialized equipment such as multimeters and oscilloscopes, technicians can thoroughly evaluate the electrical signals and components associated with the ultrasonic sensor. This meticulous approach enables them to pinpoint issues like open circuits, bad connections, or malfunctioning components, which are common causes of Tesla ultrasonic sensor repair challenges.
Moreover, understanding the specific electrical testing methods for different car restoration scenarios is essential in the context of Tesla ultrasonic sensor repair. Given that the automotive restoration process often involves intricate systems, precise measurements and analysis become critical. Proper testing not only confirms the condition of individual sensors but also ensures compatibility and optimal functioning when replacing parts in a car body restoration project. This comprehensive approach guarantees that any repairs conducted are not just temporary fixes but long-lasting solutions tailored to Tesla’s sophisticated technology.
Step-by-Step Repair Guide: Restoring Sensor Functionality
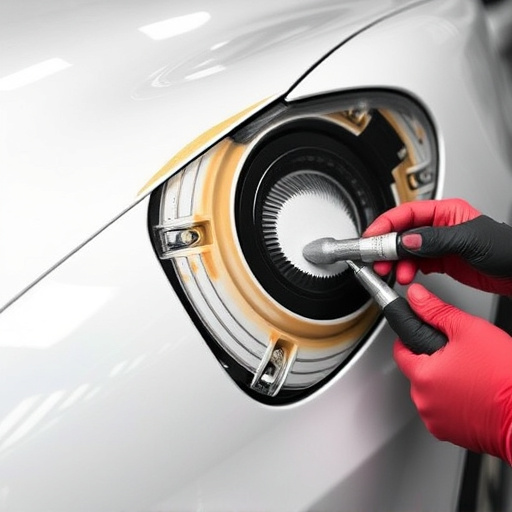
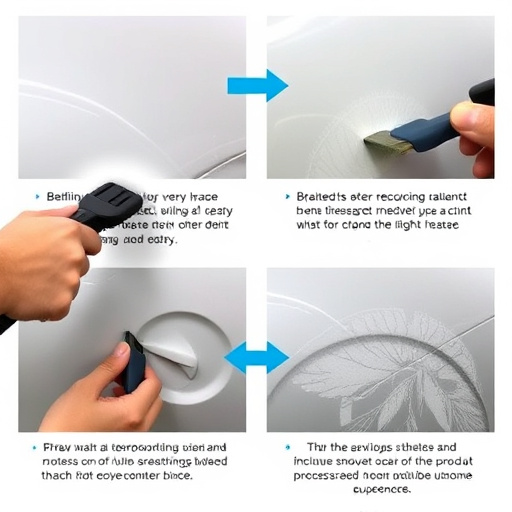
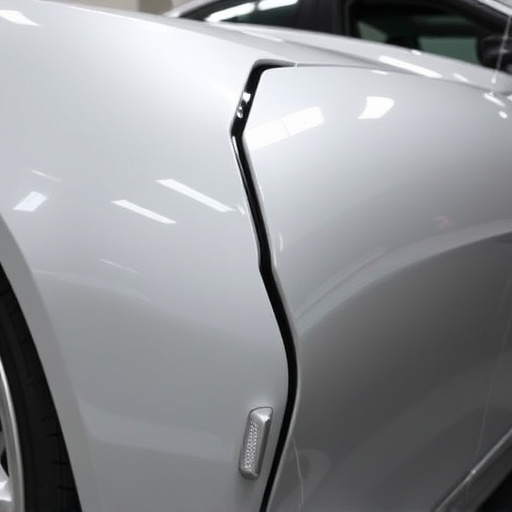
Restoring Tesla ultrasonic sensor functionality involves a meticulous step-by-step process that requires precision and expertise. Start by power disconnection; turn off the vehicle’s electrical system to ensure safe handling. Next, locate the faulty sensor, often found in critical areas like the front or rear bumpers. Visually inspect for any signs of damage, including cracks or corrosion, which can disrupt its performance.
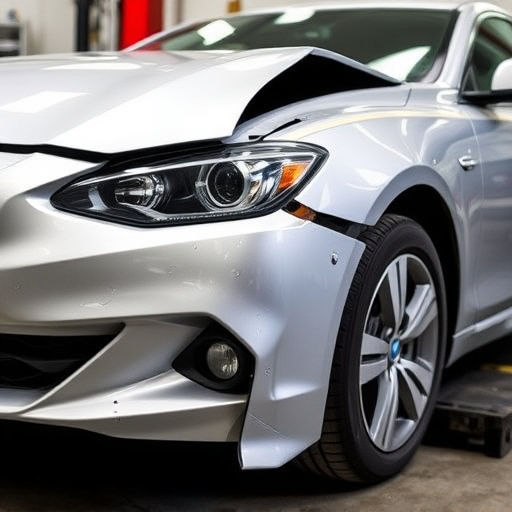
Demonting the sensor carefully using specialized tools is crucial. Once exposed, perform thorough electrical testing to identify the issue. This may involve checking connections, measuring resistance, and verifying signal strength. Common problems range from loose wires to faulty integrated circuits. Address these issues with meticulous care, replacing any defective components. Reassemble the sensor, ensuring all parts are securely in place, before reconnecting it to the vehicle’s electrical system and verifying its functionality through diagnostic tools. Remember, proper Tesla ultrasonic sensor repair is vital for maintaining the safety and aesthetic appeal of luxury vehicles, especially after collision damage repair or vehicle paint repair procedures.
In conclusion, repairing a Tesla ultrasonic sensor involves a meticulous process of understanding malfunction symptoms, performing electrical testing, and following a structured repair guide. By adhering to these steps, you can effectively diagnose and resolve issues with your Tesla’s ultrasonic sensors, ensuring optimal safety and driving performance. For those seeking to tackle this task themselves, the provided guide offers a comprehensive roadmap for successfully repairing these critical components.