


Tesla ultrasonic sensor repair is crucial for safe driving and parking, addressing issues like incorrect readings or object detection failures due to debris, dust, calibration problems, or software glitches. While DIY solutions may help minor issues, complex repairs should be handled by professionals. The process involves meticulous inspection, disassembly, sensor assessment and repair/replacement, and final testing, typically taking 1-2 hours with recalibration for optimal performance alongside safety features like automatic emergency braking and lane departure warning systems.
Tesla vehicles rely on advanced ultrasonic sensors for key safety features. However, these sensors can fail due to various factors, leading to issues like incorrect speed readings or absence of beeps during parking. This article delves into the process of repairing Tesla ultrasonic sensors, offering a clear step-by-step guide. We also explore typical timeframes for replacement and calibration, providing valuable insights for both owners and service professionals focusing on Tesla ultrasonic sensor repair.
- Understanding Tesla Ultrasonic Sensor Issues
- The Step-by-Step Repair Process
- Typical Timeframes for Replacement and Calibration
Understanding Tesla Ultrasonic Sensor Issues
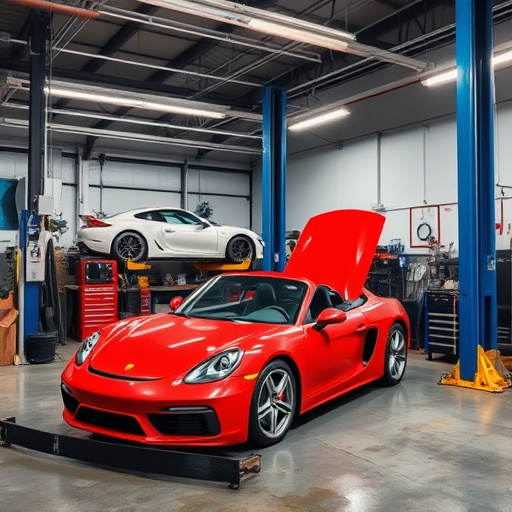
Tesla ultrasonic sensors are integral to the vehicle’s safety systems, detecting obstacles and aiding in parking maneuvers. Issues with these sensors can manifest as incorrect readings, a complete failure to detect objects, or erratic behavior during autonomous driving. Common problems include sensor malfunction due to debris or dust accumulation, calibration issues stemming from physical damage or software glitches, and power supply problems. When a Tesla owner encounters difficulties with their ultrasonic sensors, it’s crucial to address the issue promptly for safety reasons and to maintain optimal vehicle performance.
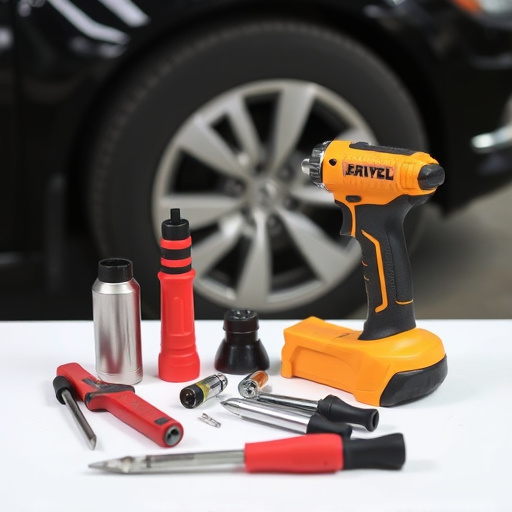
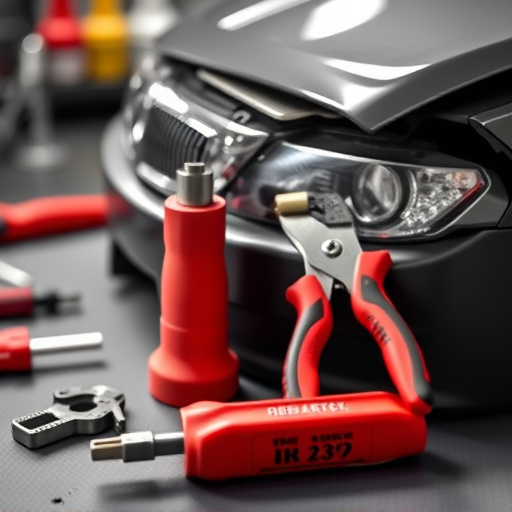
Many car owners might initially try DIY solutions for minor glitches, but complex sensor repair is best left to seasoned professionals at reputable auto body shops. Specialized tools and expertise are required to diagnose and fix problems, ensuring precise adjustments and accurate recalibration of the sensors. Timely repairs not only resolve safety concerns but also prevent potential accidents caused by malfunctioning sensors, making it a crucial aspect of regular vehicle maintenance alongside other essential auto body shop services like car damage repair.
The Step-by-Step Repair Process
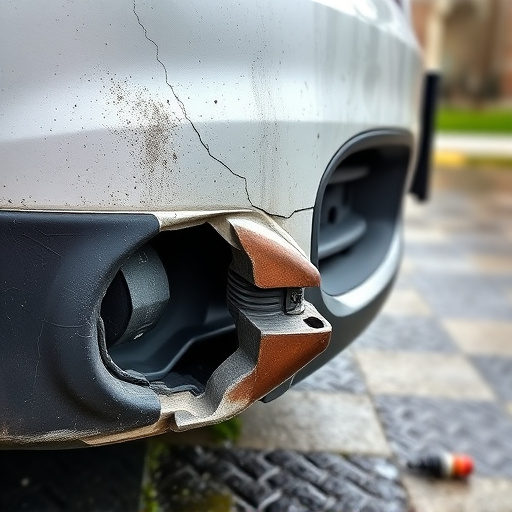
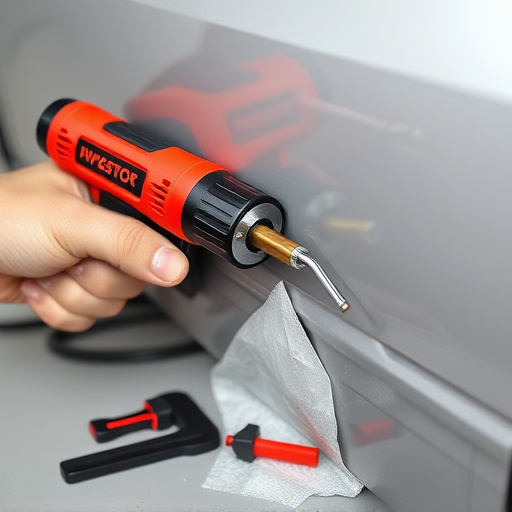
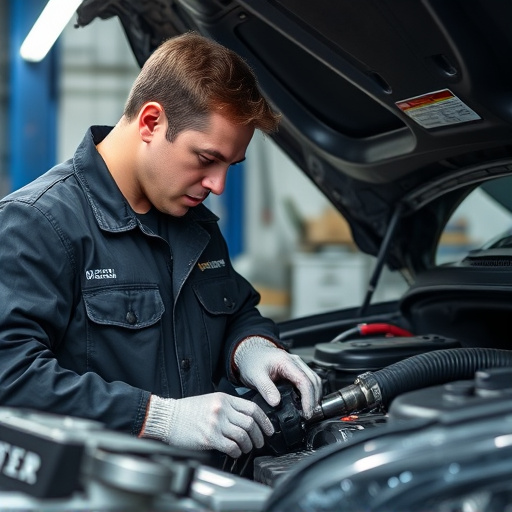
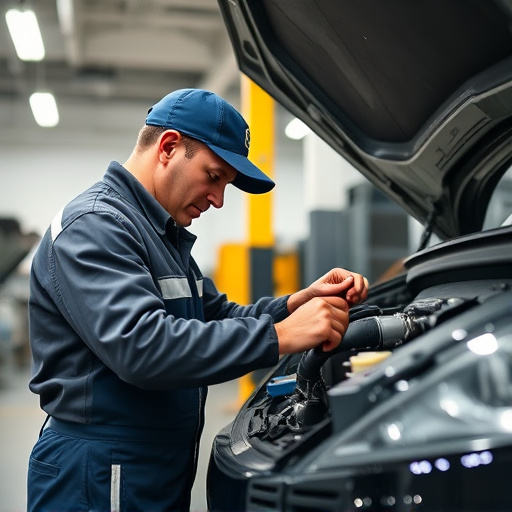
The Tesla ultrasonic sensor repair process involves several precise steps to ensure optimal functionality and longevity for your vehicle’s advanced driver-assistance systems (ADAS). It begins with a thorough inspection, where technicians identify the damaged or malfunctioning sensor, often located in the car’s front or rear bumpers. The next step is disassembly, requiring specialized tools to carefully remove the sensor from its housing without causing further damage.
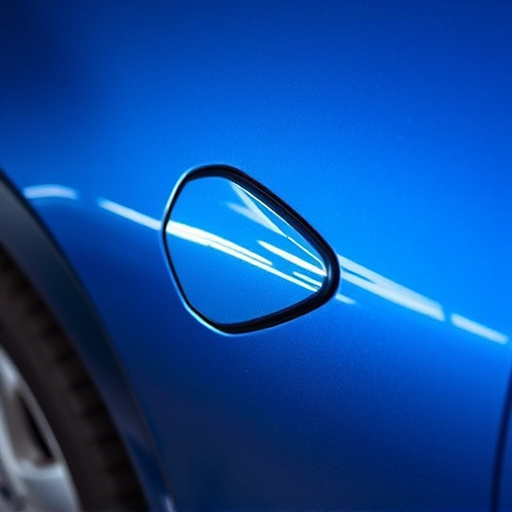
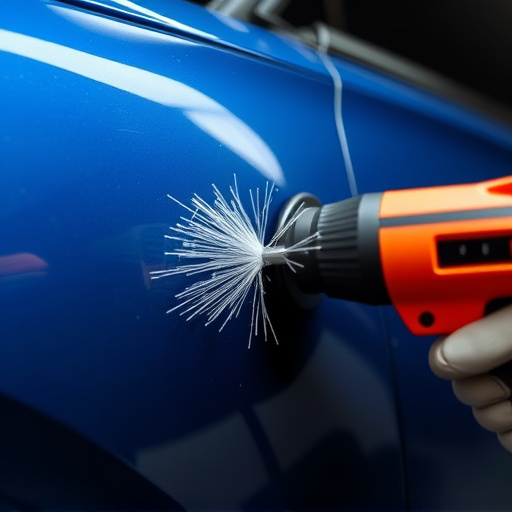
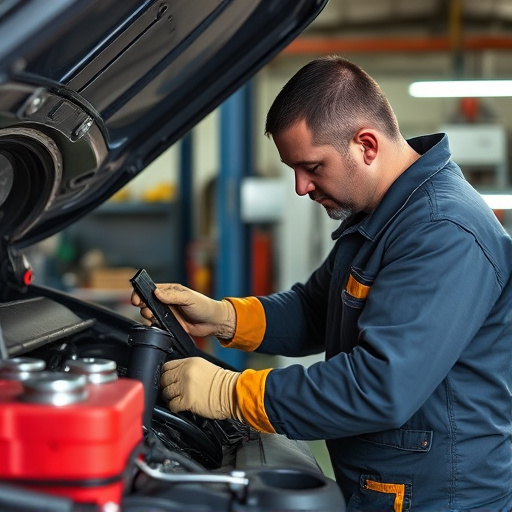
Once exposed, the repair team assesses the extent of the issue, which could range from a minor crack to complete failure. They then proceed with the actual repair, either by replacing the sensor or, in some cases, repairing it using advanced techniques. This may include applying specialized adhesives or coatings to ensure the sensor’s long-term integrity. After the repair or replacement, a final testing phase confirms that the ultrasonic sensor is functioning correctly, comparable to the meticulous process of auto glass replacement or automotive collision repair for a vehicle’s overall safety and performance.
Typical Timeframes for Replacement and Calibration
When it comes to Tesla ultrasonic sensor repair, the timeline for replacement and calibration is crucial for ensuring optimal vehicle performance. Typically, a complete sensor replacement takes between 1-2 hours, depending on the make and model of the Tesla. This process involves carefully disassembling the affected area, removing the damaged or faulty sensor, installing a new one, and then recalibrating the system to ensure precise performance.
After calibration, the system needs time to adjust and stabilize. This step is vital for accurate measurements and seamless integration with the vehicle’s overall safety features, such as automatic emergency braking and lane departure warning systems. In many cases, especially with specialized auto glass replacement or vehicle paint repair services, the total turnaround time can be extended slightly due to these necessary adjustments.
Tesla owners experiencing issues with their vehicle’s ultrasonic sensors can take comfort in knowing that the repair process is both feasible and efficient. By following a meticulous step-by-step guide and understanding the typical timeframes for replacement and calibration, drivers can ensure their vehicles are back on the road safely and reliably. With dedicated craftsmanship and access to quality parts, Tesla ultrasonic sensor repairs can be completed within reasonable periods, minimizing inconvenience and keeping your electric vehicle in top condition.