

Tesla's ultrasonic sensors, integrated into their vehicles for safety and detailing, use high-frequency sound waves to detect obstacles. Regular maintenance and cleaning prevent water or dirt intrusion, which can cause costly damages. In case of damage, specialized Tesla ultrasonic sensor repair services are available. Diagnosing issues involves identifying patterns like corrosion from water or physical debris from dirt. Repairing these sensors requires careful disassembly, inspection, cleaning, and replacement of damaged components, ensuring optimal performance after testing.
After water or dirt intrusion, Tesla’s advanced ultrasonic sensors can suffer damage, impacting key safety features. This guide delves into the functionality of these sensors and how to effectively diagnose and repair any issues. We provide a step-by-step approach to ensuring your Tesla’s ultrasonic sensors are restored to peak performance, enhancing both safety and vehicle value in the process. Learn the essential steps for successful Tesla ultrasonic sensor repair here.
- Understanding Tesla's Ultrasonic Sensors and Their Functionality
- Diagnosing Water or Dirt Intrusion Damage
- Step-by-Step Guide to Repairing the Ultrasonic Sensor
Understanding Tesla's Ultrasonic Sensors and Their Functionality
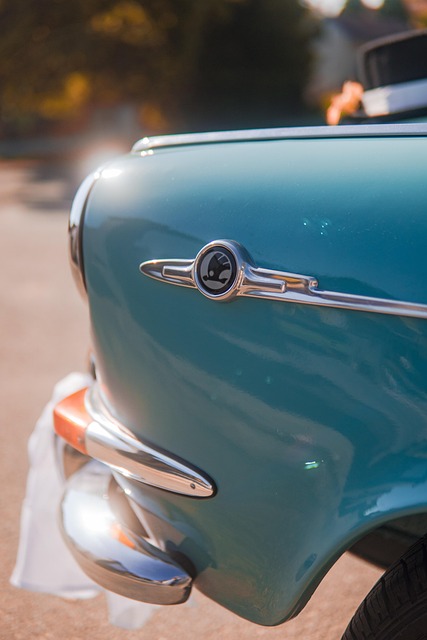
Tesla’s ultrasonic sensors are cutting-edge technologies integrated into their vehicles for various functions, including parking assistance, collision avoidance, and auto detailing features. These sensors emit high-frequency sound waves that bounce off objects, providing precise data on nearby obstacles. By analyzing the echo patterns, the system calculates distance and detects potential hazards. This innovative approach enhances safety and simplifies vehicle repair services by minimizing damage during low-speed maneuvers.
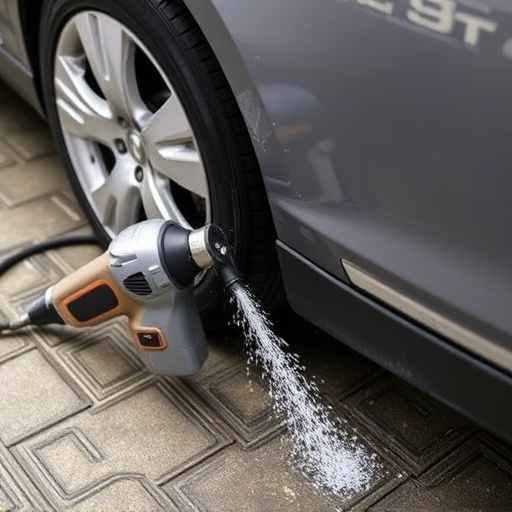
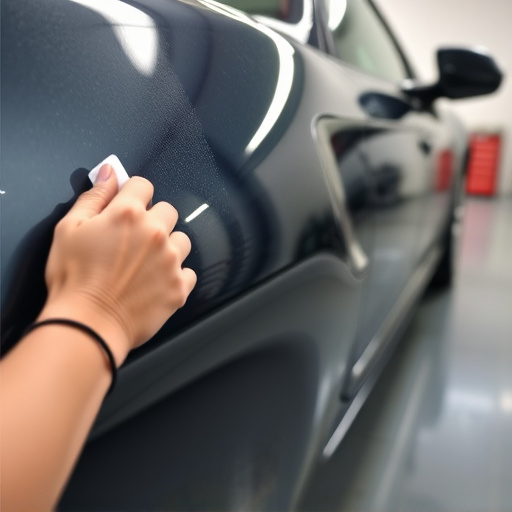
Regular maintenance is crucial for keeping these sensors in optimal condition. Water or dirt intrusion can significantly impact performance, leading to costly repairs if left unchecked. Understanding how these sensors work is essential when addressing issues like water damage. Auto detailing professionals play a vital role in preventing such intrusions through regular cleaning and protective measures. In the event of damage, a well-equipped collision repair center can offer Tesla ultrasonic sensor repair services, ensuring your vehicle’s safety features remain reliable and effective.
Diagnosing Water or Dirt Intrusion Damage
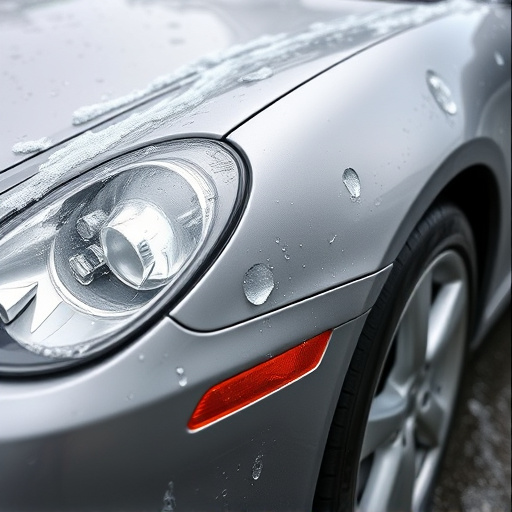
When diagnosing Tesla ultrasonic sensor repair issues stemming from water or dirt intrusion, it’s crucial to identify specific damage patterns. Water can cause corrosion or short circuits within the sensitive electronics, leading to inaccurate range readings or complete sensor failure. Inspect for signs of moisture, such as mold growth or discolored components. These visual cues often indicate the extent of water penetration and the affected areas.
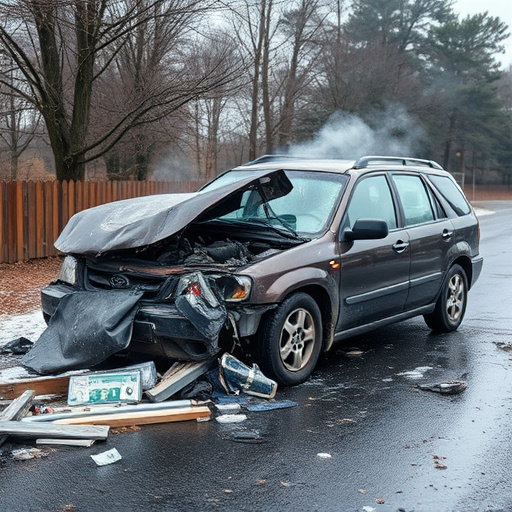
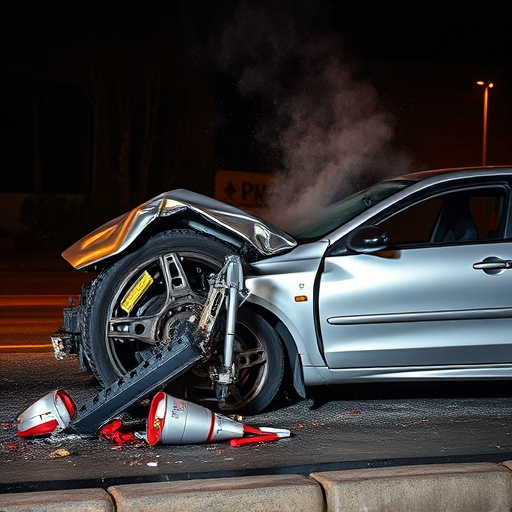
Dirt intrusion commonly results in physical debris blocking the sensor’s field of view or damaging its exterior casing during a vehicle collision repair. Auto detailing professionals can aid in this process by carefully removing dirt and debris using specialized tools. They should also check for cracks or dents that could compromise the sensor’s proper functioning, drawing from their expertise in auto bodywork to assess structural integrity.
Step-by-Step Guide to Repairing the Ultrasonic Sensor

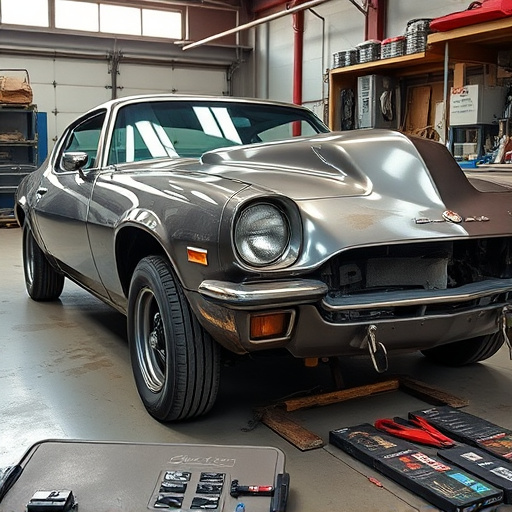
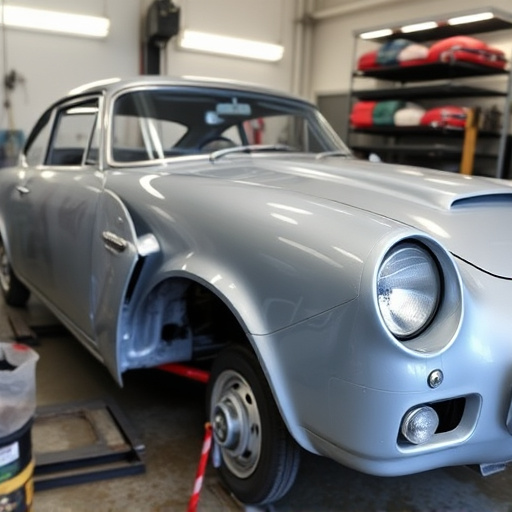
Repairing a Tesla ultrasonic sensor after water or dirt intrusion involves careful and precise steps to ensure optimal performance. Begin by power-off and unplugging the vehicle’s battery to create a safe working environment. Next, locate the affected ultrasonic sensor, usually near the front or rear bumpers, and inspect for any visible damage or debris buildup. Use a soft brush or compressed air to gently clean the area, removing any dust or particles that could hinder the repair process.
Once the sensor is thoroughly cleaned, disassemble the surrounding components carefully, taking note of each screw and cable connection. With the sensor accessible, examine its connectors for corrosion or damage. If present, use a wire stripper to remove the affected sections and apply new wiring to ensure a secure connection. After preparing the sensor, reinstall it in the vehicle, reattaching all cables and screws according to their original positions. Finally, test the ultrasonic sensor by powering on the vehicle and checking its functionality during reverse or parking maneuvers.
In conclusion, effectively repairing a Tesla ultrasonic sensor affected by water or dirt intrusion involves a clear understanding of its functionality and careful navigation through the repair process. By diagnosing the issue accurately and following a structured guide, car owners can restore their vehicle’s safety features to optimal performance. Remember that prompt action after exposure to water or dirt is crucial for successful Tesla ultrasonic sensor repair.